Durasplint – a tech review
The disappointment felt by the Eurodontic team and course delegates was palpable when our week of new product training events had to be cancelled.
Vague sympathy was expressed for the speaker who had cut his finger off in a DIY mishap a few days before travel, particularly when the initial rumours suggested he had lost several fingers – not just the one.
So now we have a training void and lots of questions being asked about new products from SCHEU Dental.
Our lab JJ Thompson (one of the biggest grumblers) had bought the new LC material and light box and were now sitting looking at the beautifully presented kit wondering where to start.
I asked them to read the accompanying brochure, have a go and report back.
They came back with the following technical report.
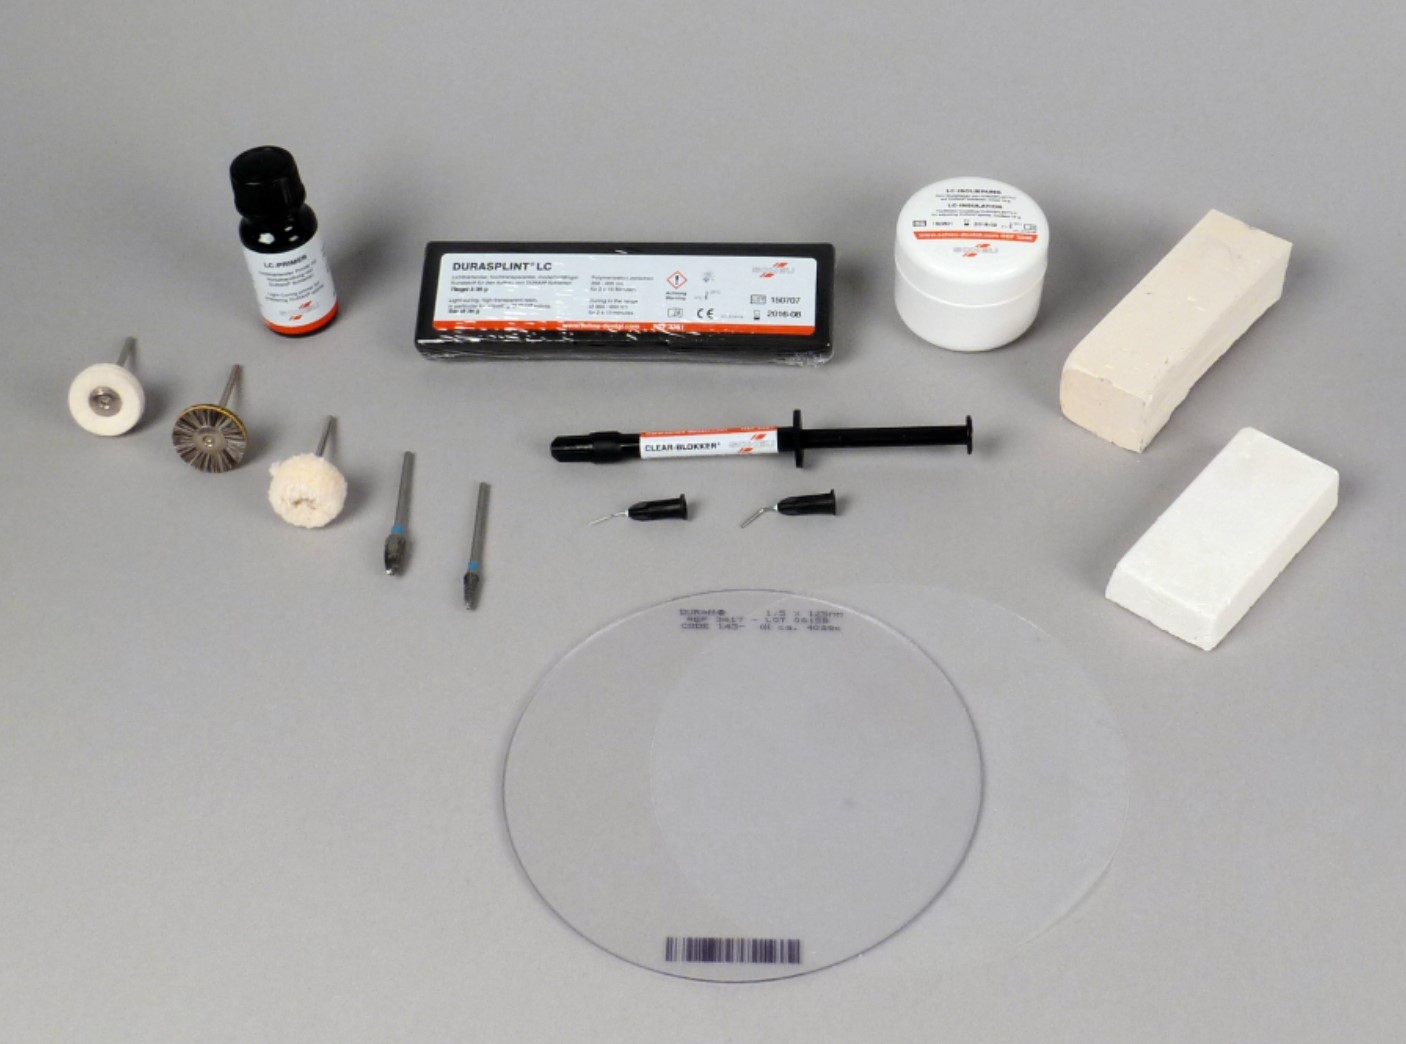
After briefly reading the step-by-step instructions we started by taking the contents out of the box, muttering ‘these manufacturers love selling kits, I bet we don’t need half the stuff in here, but the box itself will be good for storage later I suppose.’
One of the main messages we took from our brief scan of the instructions was – ‘it is very important that the base layer is not allowed to flex during manufacturing, flexing will increase the likelihood of the bond between the LC material and the base layer failing’.
The instructions go on to state, ‘the model should be surveyed using a model surveyor to determine undercuts’. We debated this, but decided we ought to be able see undercuts with our trained eye, and from a practical point of view we didn’t have time for this. Perhaps if we had a problematic case we’d use a model surveyor, but for trial purposes we didn’t.
The brochure went on to advise, ‘Using red Silkit or other blocking out product – block out the undercuts’. We usually block out with plaster, as it’s cheaper and quicker, but feeling duty-bound to follow at least one of the instructions, we used red Silkit.
It was actually quite a nice product. We do use the clear Silkit whilst manufacturing snoring appliances, but we hadn’t used the red. Our experience with Silkit is that it doesn’t stick to wet models so you do have to make sure the models are prepared in advance. The material is a bit fiddly and very sticky but after blocking out undercuts on two or three teeth it got easier and it was nice to be able to see really clearly where we had worked. Bearing in mind our failure to follow the instruction about surveying the model, we blocked out heavily.
One advantage of using Silkit is that it can be removed from the model after appliance production – however it does leave a red stain.
Silkit – 8/10
Once the models had been blocked out we put on the Isofolan layer and then a Duran 1.5mm layer. SCHEU recommend a minimum thickness of 1.5mm to avoid flexing. We didn’t follow this instruction right from the start as 1.5mm seemed too thick. But after opting for the 1mm it did indeed flex too much. So we chalked that one up to experience and used the 1.5mm as instructed.
The excess 1.5mm Duran material was removed to make it easier to work, and following the instructions we roughened the baseplate up with a course brown Dimo wheel. This is quite an important step, as the shiny surface has to be removed to prepare for bonding and the roughening up has to extend further than the appliance margins. A bit of time has to be taken here going round gingival margins and intercuspid crevices.
When this step is complete, we wiped the surface over with an alcohol wipe to remove fingerprints and dust before painting with primer. We put our gloves on at this stage to prevent touching the freshly prepared surface with our fingers. A thin layer of primer
was painted on the appliance. It was easy to see where we had painted as we were
now putting the gloss back on the baseplate. Again, the primer needs to be extended further than the appliance margins.
The primed appliance went in the lightbox for 5 minutes. We had purchased a new SCHEU lightbox for this as we only had a very old Triad and no one could find the instruction book to see what the spectral range was. We were pleasantly surprised by our new lightbox. It had typical SCHEU styling, was lightweight and according to SCHEU Dental had enough space for two models. Actually, we put four in the box, and they were high models on articulated bases and still the LC material cured well.
Lightbox – 10/10
When you receive the lightbox you have to put the bulbs in yourself. It comes with white and blue bulbs and they have to be positioned alternately (read the instructions!) If you look in the box while it’s curing, it does look like the white ones aren’t working – they are, you just can’t see them. The good thing is they are not hideously expensive special bulbs that have to be ordered from SCHEU – you can buy them online, so keep the packaging as you will need it when replacing.
We removed the primed and cured baseplate from the lightbox with gloved hands and eagerly opened our little black box of LC material. It wasn’t until we noticed the material sticking to our gloves that we remembered that little pot of insulating cream in the kit box. Oops. It’s essential to use this on your gloved fingers. If you are using opposing models to make indentations you can also use the cream as a separator by brushing on the occlusal surfaces. Alternatively you can soak opposing models in water if they are able to be removed from the articulator – as soaking in water works just as well.
Insulating cream – 7/10. A good product but the pot is rather small.
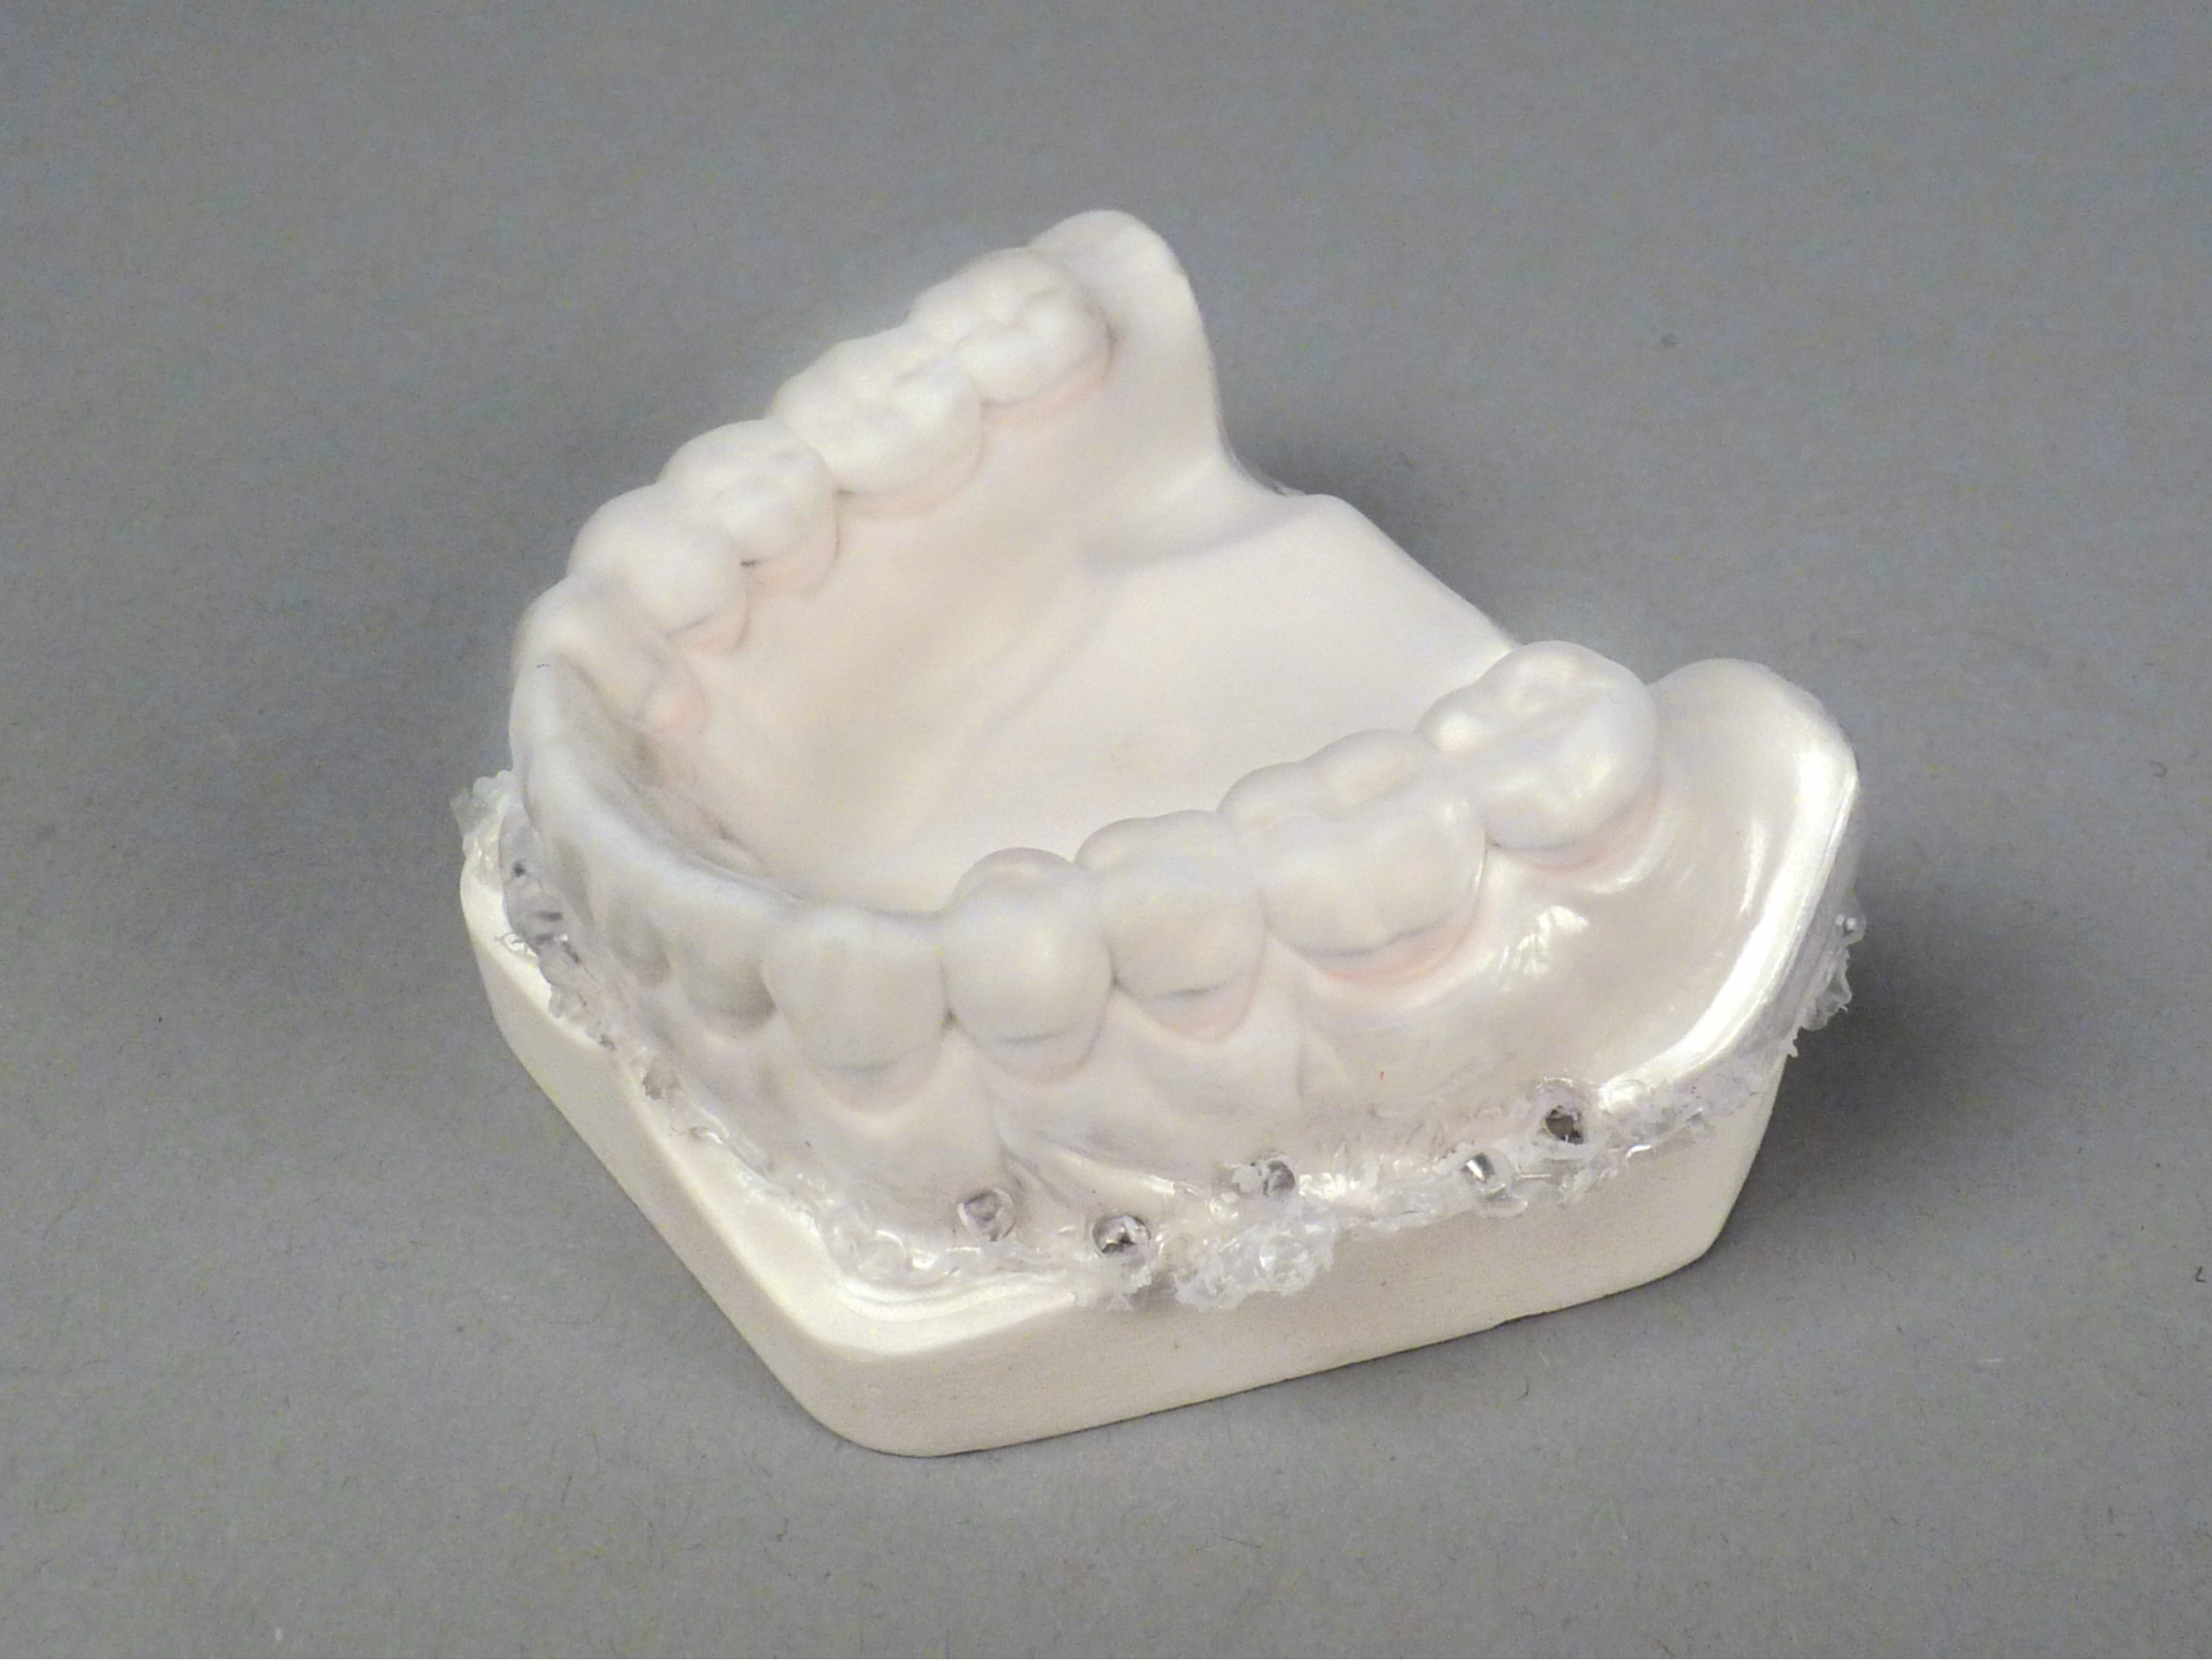
The Durasplint LC material is quite expensive when compared to conventional resins so you need to think about how you are using it. If you are intending to make a thick appliance, use a thicker baseplate. The LC material must be moulded to give a thin coverage over the whole of the appliance and just beyond the margins. You shouldn’t try to just stick a block or a ramp to the baseplate as the joins will be visible and weak and the bond will fail on the join. Whatever you choose to build can be shaped to finish using your gloved fingers and clean tools. The more effort you put in here, the less trimming you will need to do.
After curing your appliance for 20 minutes you should wipe it over with alcohol again to remove sticky residue. If you forget this and go straight to trimming, your trimming burs will be clogged up within seconds. You should do as much trimming as possible whilst the appliance is on the model and cut the appliance to its intended depth before attempting to remove from the model – it’s all to prevent flexing of the baseplate.
The two cutting burs included in the kit are nice quality burs and can be bought singly. The LC material is hard, like all light cured acrylic, and produces a very fine dust. Bur marks are not easy to remove and we did have to use a brown Dimo before our appliance was smooth enough for polishing.
Burs – 10/10. We use a similar larger bur in the lab already, but rarely use the thin version. We need to compare prices of the single burs to see if it’s worth changing to these.
The polish and polishing wheels included in the kit look great, but we had access to a lathe with pumice and polish and our impatience was too great to ignore, so we finished our appliances on the big lathe. After polishing we went back and put a bit more shape on the appliance edges, so we did end up giving the polish bars and polishing wheels a try. The results were better than expected, but we didn’t use them enough to give a rating.
LC material – 9/10. A bit expensive when compared to building up with a cold cure resin, however it gives a beautifully light, smooth and clear appliance which the manufacturers claim is highly resistant to discolouration. It seems to offer qualities similar to heat curing but at a fraction of the time.
The kit comes with a cannula of light curable Clear Blokker which is the new clear version of SCHEU Blue Blokker. Unlike the blue version, this clear material has been passed for intra-oral use and it will bond with the Duran baseplate and Durasplint LC material. It’s intended for fine repairs or adjustments, and obviously the appliance has to be prepared and primed before adding any additional LC material or Clear Blokker.
SCHEU LC complete kit – 9/10 . Overall the kit was very good. It wasn’t just a pretty box – it was full of essentials, and it did include an essential step-by-step guide, if only we technicians had the patience to read it! However, it could have included brown Dimo wheels as these were pretty essential too.
For those of you wondering about the fate of the speaker, he did have his digit reattached and is now making a full recovery. We hope to bring you the new product course in 2016.